Happiness Project#48: Eggnog Snowflake Cookies!

skmb

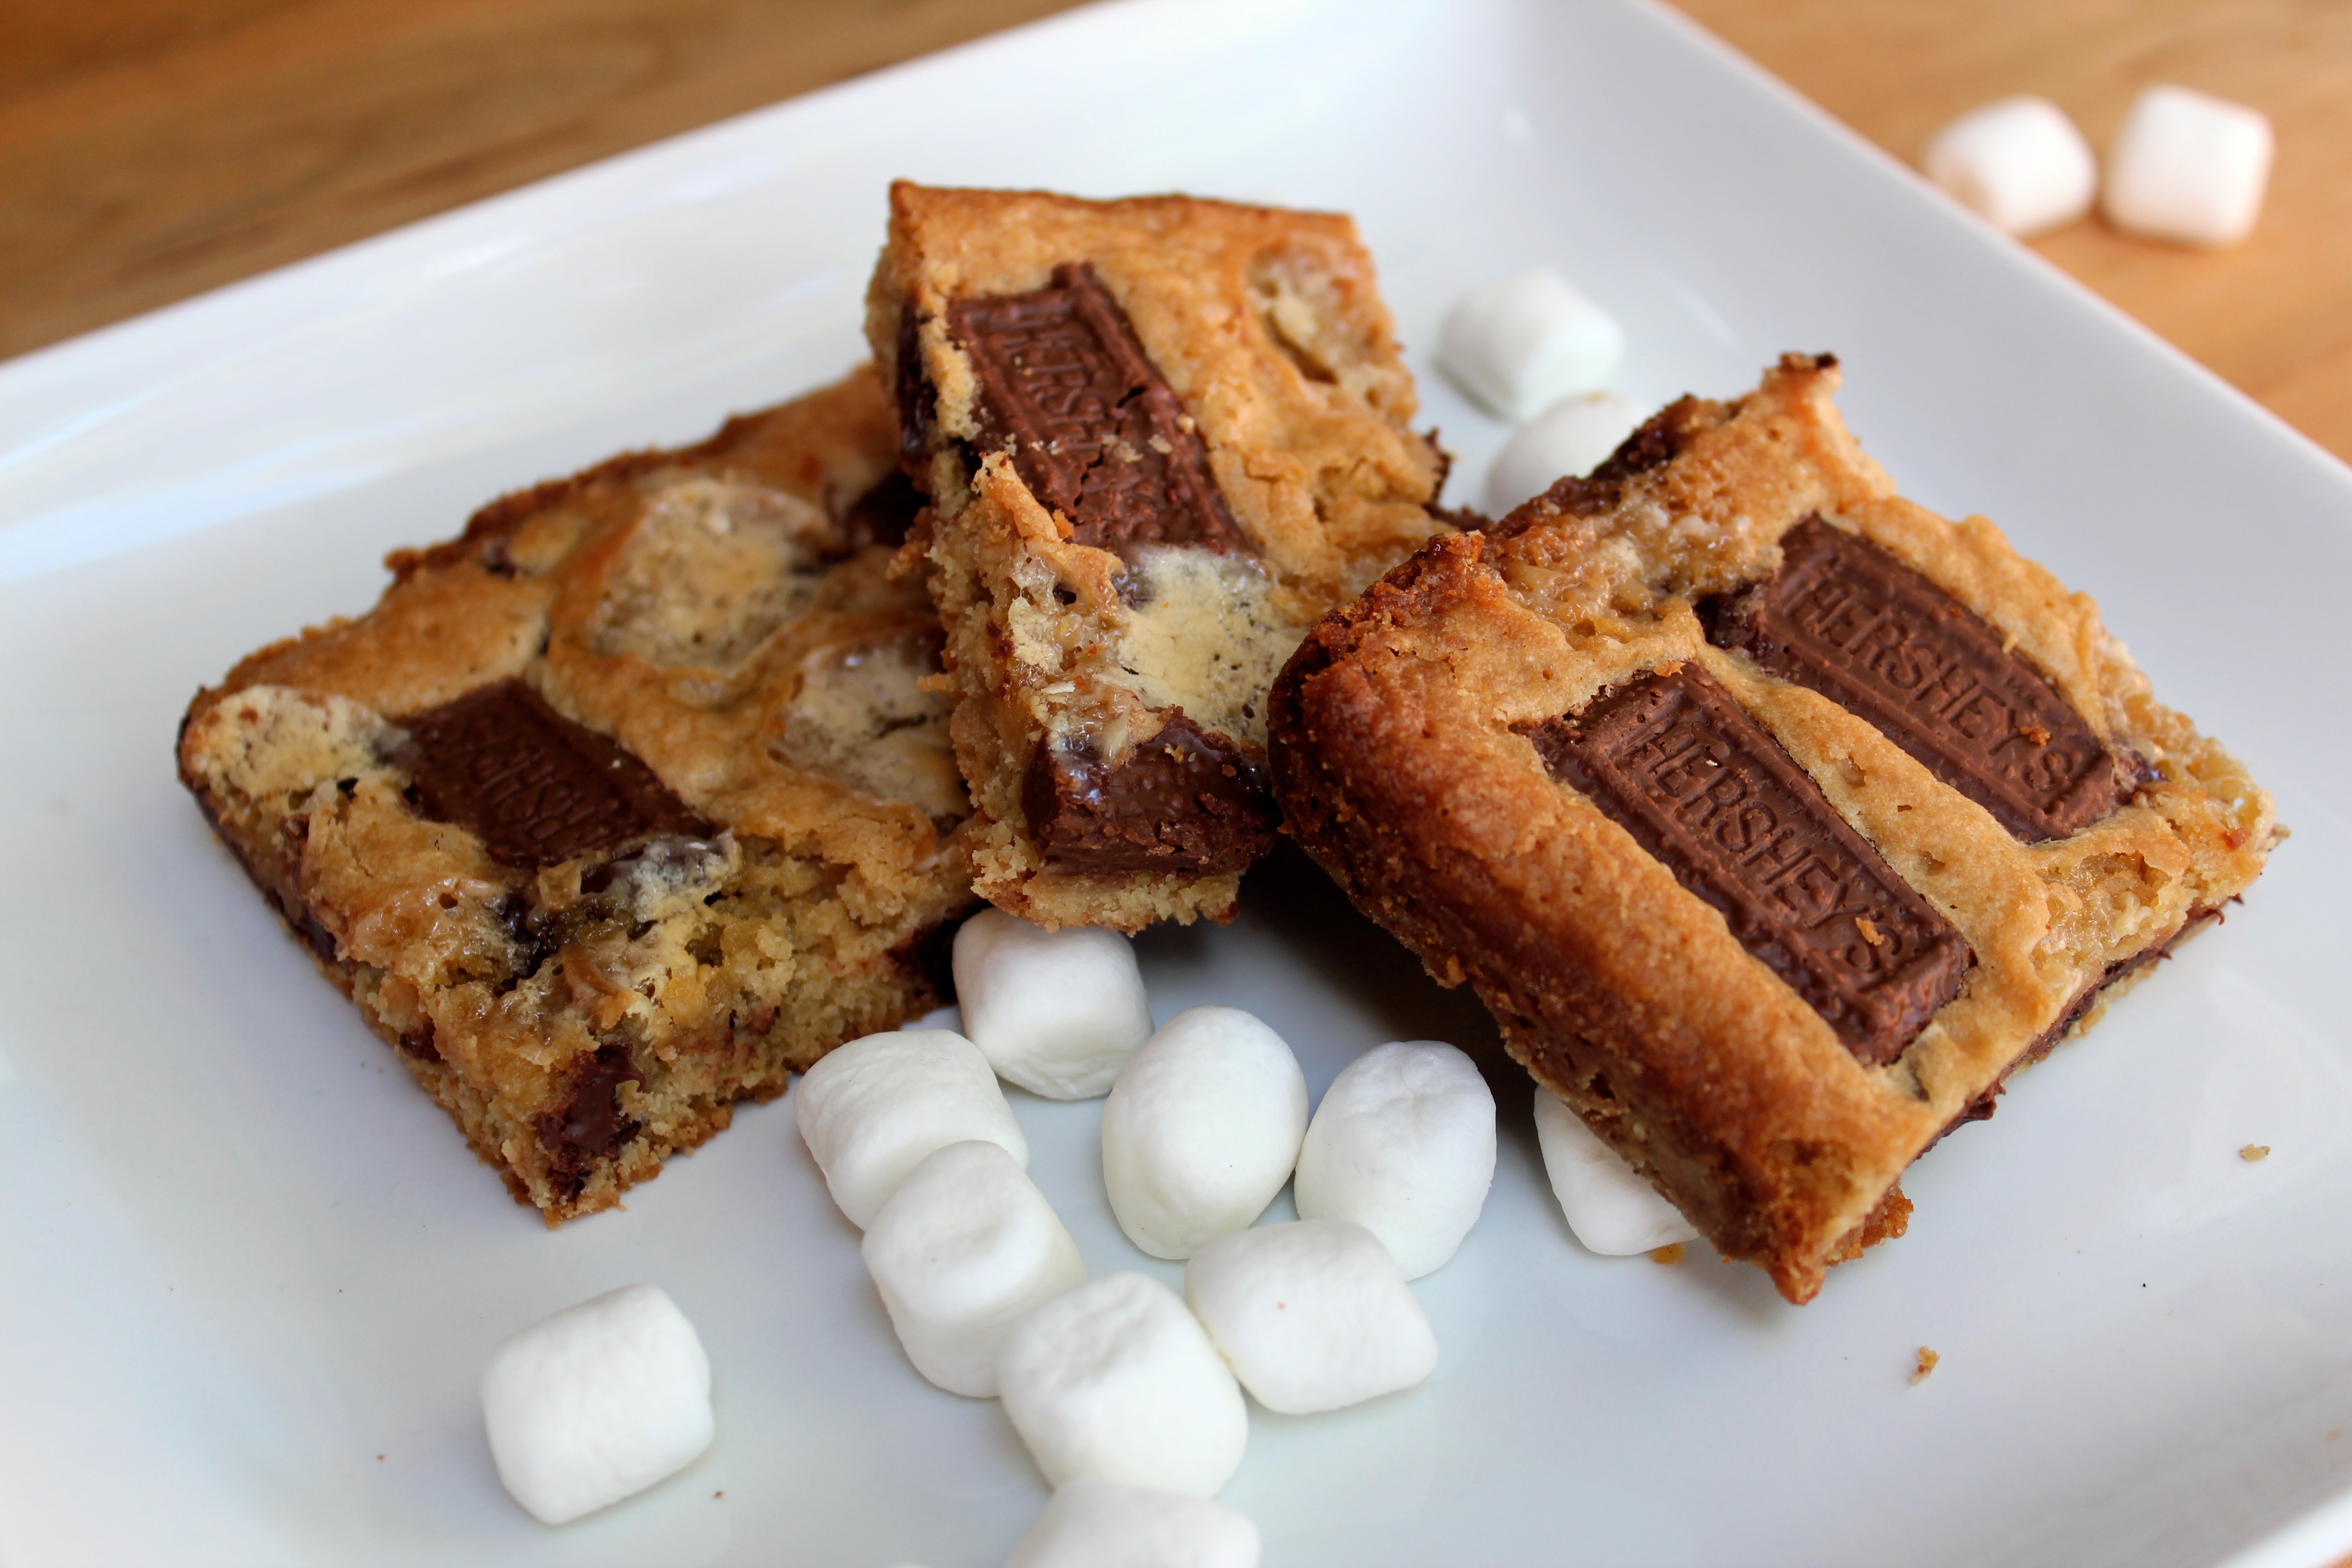
Tomorrow! Tomorrow is always that one special day of the year that I look forward to the most! Not because of bows or tags or pretty wrapping. But because I get to spend an entire 3 to 4 days with my favorite souls on earth. My Mom, my two sisters & my three awesome nephews! My Family. My Heart. We’re not one of those families who puts much weight into giving that “perfect” gift or any gifts, actually. Well, okay, with the exception of gift giving for the kids, that is. Because kids should be a little spoiled this time of year. Just a little bit, right? With us adults, though? No thanks! That’s one of the many things that I adore about my Family’s beliefs. Christmas isn’t about gifts. It’s simply about being together. For food and dancing and games and recipe adventures. When we’re finally all together, the circle is whole and my heart is complete. And there’s no happier place on earth.

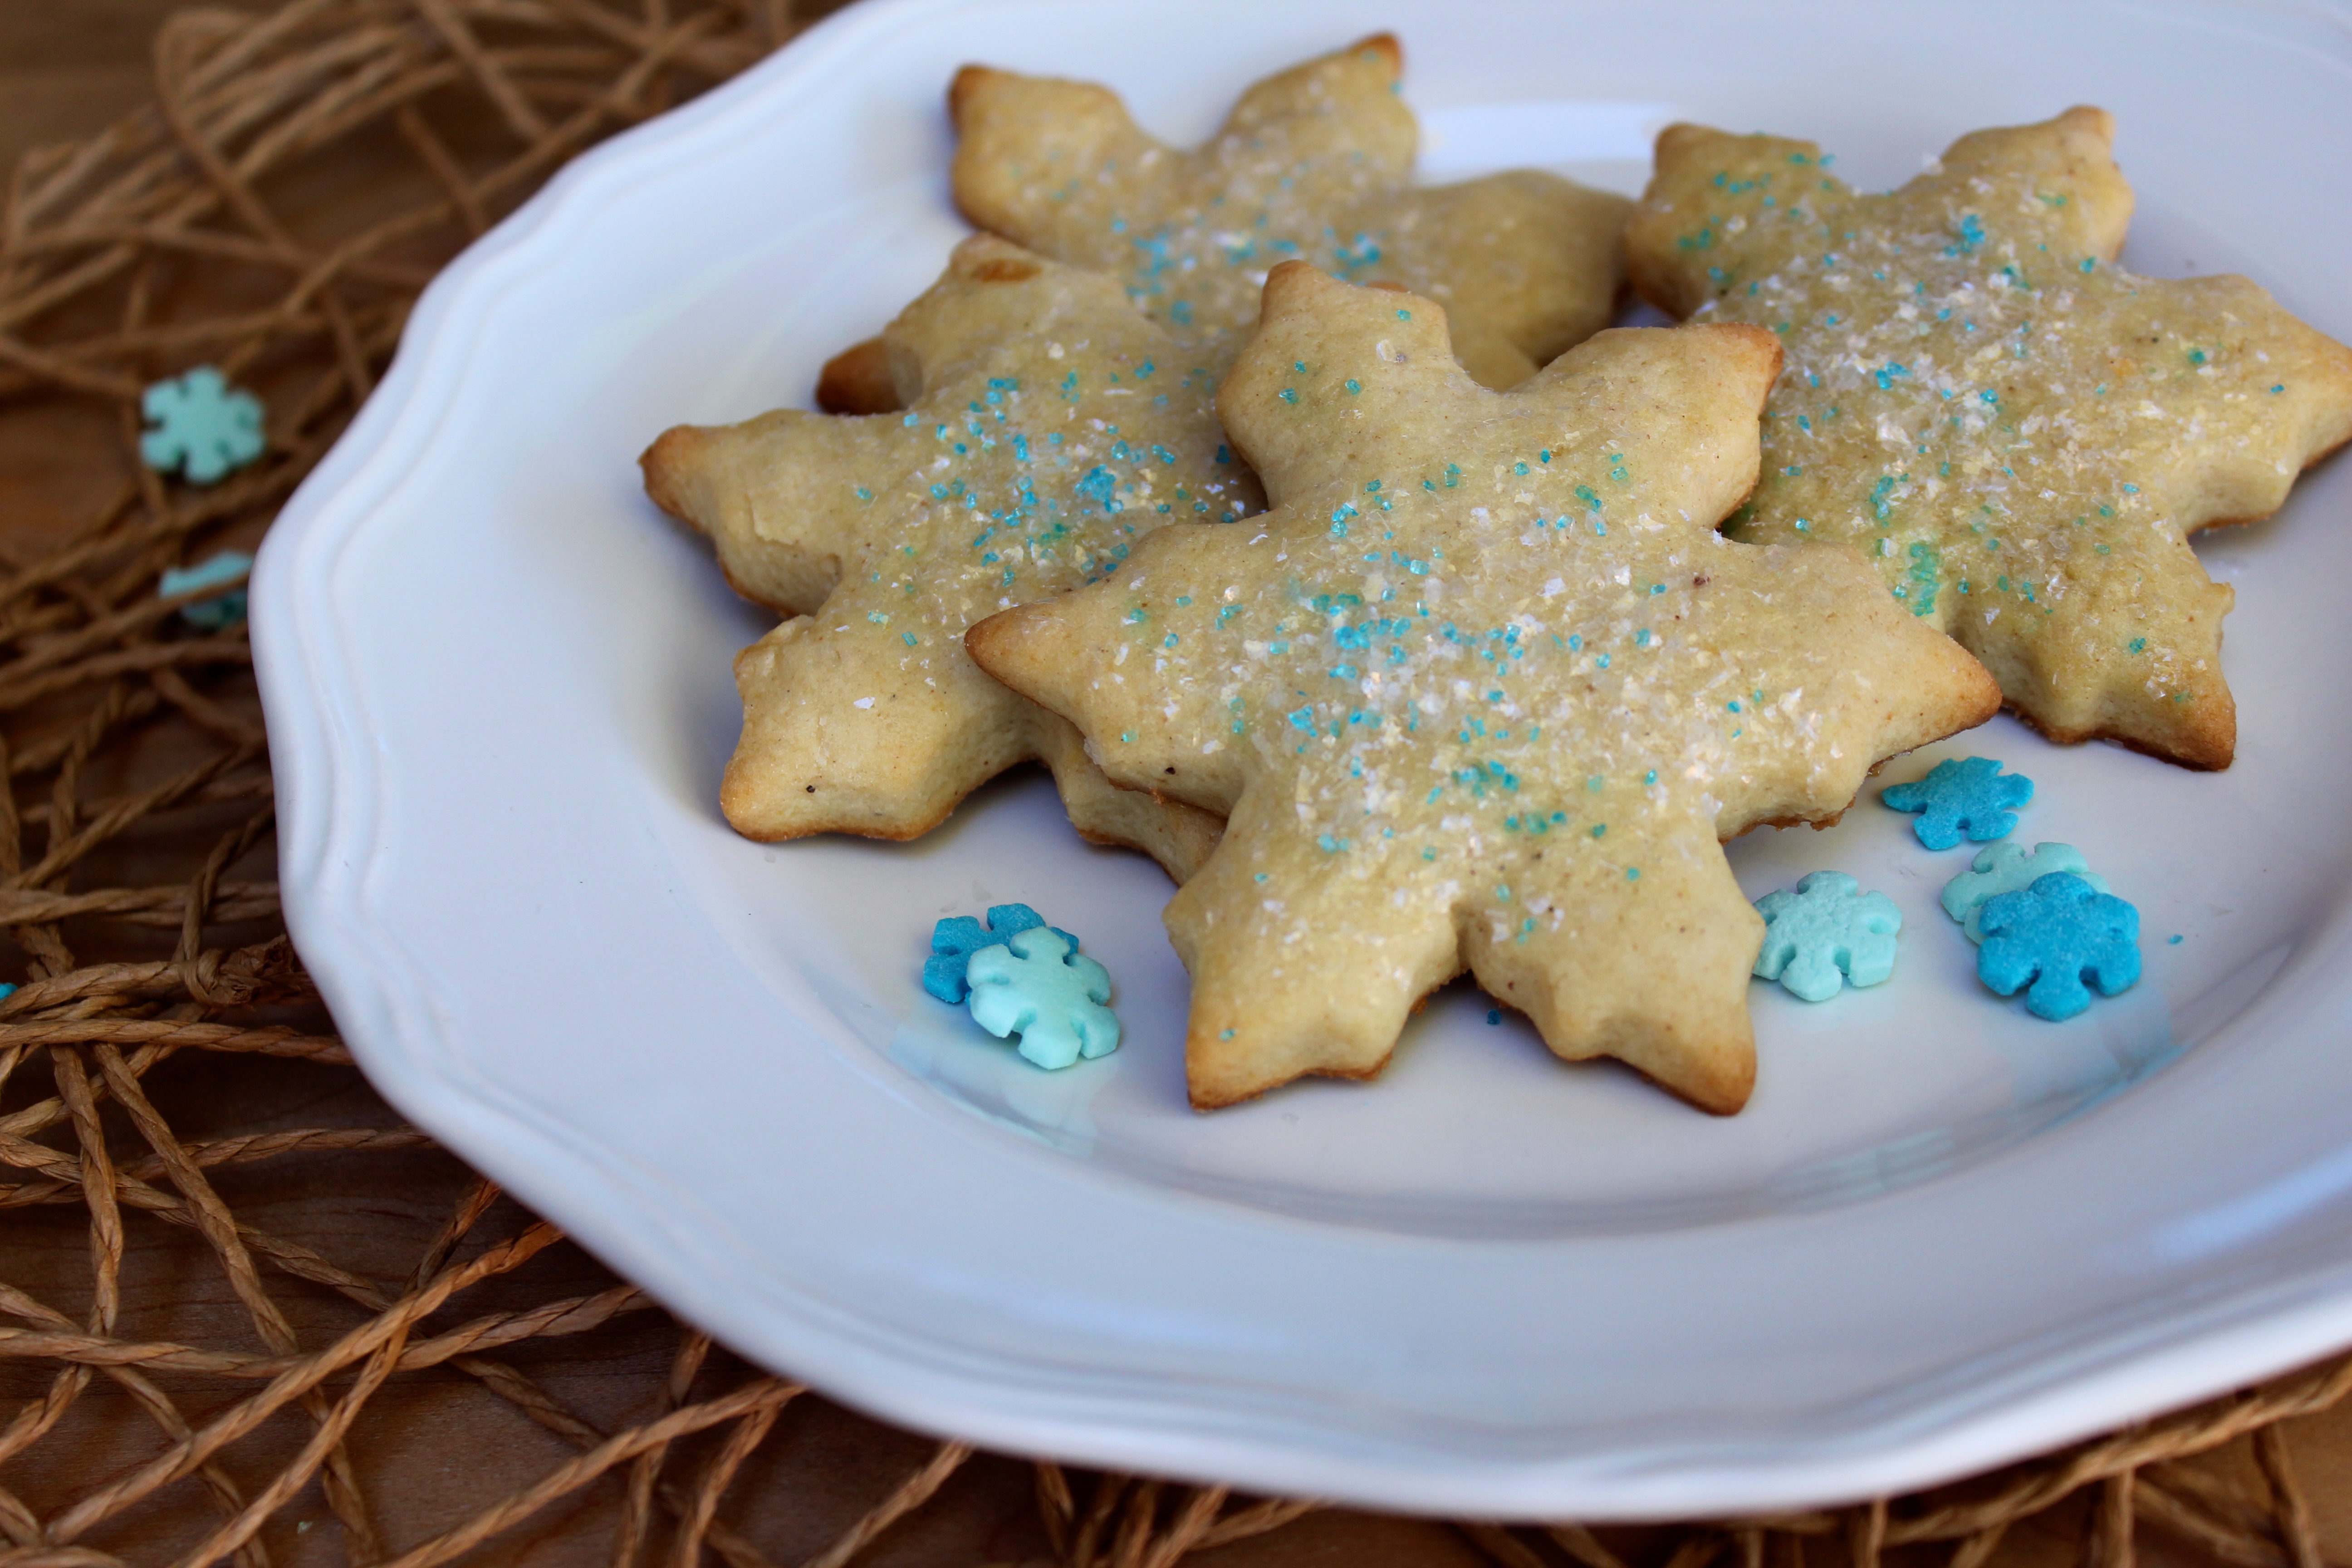
So in preparation of Christmas Eve festivities, I wanted to make a special cookie that embodied so much of the joy and elation that I feel when my Family is finally all together again. And since Eggnog is my Husband’s favorite holiday drink, I started there. And ended up with pretty blue sprinkles and shimmering white cake dust. The result? Snowflake perfection. That tastes just like Christmas! And Home. And best of all? Just like Family.

For the Cookie Dough:

3-1/2 cups all-purpose flour

1/2 teaspoon baking soda

1/2 teaspoon ground nutmeg

pinch of ground cinnamon

pinch of kosher salt

2 sticks (16 tablespoons) unsalted butter, softened at room temperature

3/4 cup granulated sugar

1/4 brown sugar

1 egg

1/2 cup plus 2 tablespoons eggnog

Snowflake Glaze:

The whites from 1 egg (only the egg whites)

White cake dust, which you can find at Michaels Craft stores or most cake decorating shops

Blue sugar crystals

Ready? Let’s get Christmasy!

In a large bowl, whisk together the flour, baking soda, nutmeg, cinnamon and salt together. Set aside.

Using the bowl on a stand mixer, or by hand held, beat the butter  and two sugars together, until light and fluffy.

Add in the egg and beat until well combined. Follow by slowly adding in the flour mixture and mixing until just incorporated.

Now, scrap down the sides and bottom of the bowl to form a rough shaped dough ball in the center of the bowl. Cover the bowl with plastic wrap and chill in the fridge for 2 hours. Why 2 full hours? Because if the dough isn’t chilled long enough, it will be too soft to roll out and cut shapes with. Which can be very, very frustrating.

Before you’re ready to start rolling out that well chilled dough, preheat the oven to 350F and prepare two baking sheets with parchment paper or Silpat baking mats.

Now to the rolling and shaping! On a cold, lightly floured work surface (preferably marble), roll up half of the cookie dough into a large ball and then firmly roll out into a 1 inch flat circle. Using whichever cookie cutter shape you like most, shape, shape, shape away! Continue to roll out & shape the remainder of the chilled dough, until you have filled up both of your cookie sheets.

*Quick Tip: Remember to lightly flour your work surface between each division of balled dough. Otherwise, the dough will stick to the work surface and become super messy to lift up.

Pop your cookies into the oven and bake for 9-10 minutes, until the edges become slightly browned. Remove from the oven and let sit on the baking sheets for a few minutes before transferring them to a wire rack.

Ready for the super pretty part of this recipe? Let’s go!

Crack the 1 egg, and in two small bowls, divide the egg white from the egg yolk. Using a fork, whisk up the egg white for a couple of seconds.

Using a small pastry brush, lightly coat the tops of each cookie with the egg wash. The egg wash will give your cookies a lovely subtle shine. Follow by sprinkling each cookie with a little bit of the white cake dust. Ending with an additional sprinkling of blue sugar crystals. Or whatever colored sprinkles you like. That’s what’s so wonderful about Christmas cookies! You can use whatever colored sprinkle you want and the end result will still be decisively merry and bright!

And there you have it! With a little bit of elbow grease and a whole lot of Love, you can share the very best of Holiday cheer, rolled up into one yummy treat.

From my Family to yours, Happy Holidays, my Friends! xoxo

Happiness Project#47: S’mores Blondies!

IMG_6012

S’mores. EVERYONE in my family really, REALLY likes S’mores! Though LIKE perhaps, is much too small a word. Love is a more accurate description. Or single minded obsession even. Since we’re being so honest about it. And over Thanksgiving weekend, ALL they talked about was wanting S’mores. S’more. S’mores. S’mores. Even after I had slaved away creating an 8 inch Lemon Vanilla Cake for them, which also happens to be another of their favorite flavors. Pft! Lemon! So to appease this single-minded Family obsessive, I quite literally steam rolled into this new recipe. One that didn’t quite go as planned the first time around. Because, yes, my friends, there IS such a thing as TOO many marshmallows. Trust me. There is. So don’t do it. Just. Don’t.

However, coming up with a S’mores recipe even better than my previous S’mores Cookie Sliders, was no small feat. My Family expects perfection and perfection they shall have! Okay, okay, this perfection snobbery is all mine, not theirs. Not theirs in the slightest. Just another beautiful, unique thing about my Family. We’re more about Love and Togetherness verses expectation and perfection. Because perfection, as the saying goes, is boring.

Anyhow, I’m assuming, at this point, that you’d really, REALLY just like this recipe. And so it shall be.

For the Blondies:

8 tablespoons salted butter, melted

1 cup light brown sugar

1 egg

1 teaspoon vanilla extract

pinch of kosher salt

1 cup all-purpose flour

S’mores Topping:

2 regular sized Hershey bars, broken into pieces (approximately 1 cup)

3/4 cup mini marshmallows

Preheat the oven to 350F. Lightly butter or spray an 8×8 inch baking pan. Dust with flour, tapping out the excess.

By handheld or stand mixer, blend the butter and brown sugar together for a few minutes. Beat in the egg and then the vanilla. Beat until smooth. Add in the salt and then the flour, until just incorporated.

Pour into the pan, using a spatula to gently press the batter into the pan’s edges.

Set your timer for 20 minutes. Pop the Blondie batter into the oven and bake for 10 minutes.

While you’re waiting for the Blondie bottom to half bake, prep the two ingredients needed for the S’mores Topping.

Halfway through baking, at 10 minutes in the oven, pause your 20 minute timer and remove the half set Blondie batter from the oven. Lay out each broken Hershey chocolate piece on top of the Blondie, in whatever pattern you’d like, followed by gently pressing the mini marshmallows in between whatever spaces are available between the chocolate pieces.

Once you’re happy with laying on that S’mores topping, pop the pan back into oven. restart the timer and let bake for the remaining 10 minutes.

Remove from the oven and let cool throughly in the pan, on a cookie sheet, before cutting up into 12 bars. Store airtight, for up to 3 days.

So what do you think? This S’mores Blondie might not be the prettiest but as long as it tastes yummy then that’s all that really matters, right?

Happiness Project#46: Classic Peanut Butter Cookies!

skmblg

Alright! Alright! After 3 of my friends contacted me within this past month, asking for my well-loved Peanut Butter Cookie recipe, I’ve finally decided to blog it out for them, and well, everyone else, too. Just so I can make finding it (& keeping it) much easier for everyone interested, myself included. Since we all know how crazy a Mother’s life can be during the holiday season, after all. Without the extra madness of hunting down one’s favorite recipe.

The story on this forever favorite home cookie of mine? Years and years ago, before I had gone to Pastry School, I wasn’t able to bake ANYTHING without burning it. Especially cookies. Just between you and me, I couldn’t bake a decent enough cookie to save my life. I didn’t have the patience required, at that point, to truly LEARN and FEEL the craft of baking. Because once you’ve discovered the passion for kitchen wizardry, all you really need to be truly good at it, is the patience to learn the basic baking techniques needed within any staple recipe and the importance of practice. Practice truly does make perfect. Trust me. You have no idea how many hours of the night that I’ve spent in my tiny, little kitchen, re-doing a recipe over and over and over again, until I got it just right. That’s just how it’s done, my friends.

Anyhow, after tweaking this cookie recipe 3 or 4 times, I finally got it just right. Being the super pastry snob that I am, after all. *wink* So from my kitchen to yours, (& all of those 3am baking sprees), here it is!

1/2 cup salted butter, softened at room temperature

1-1/2 cup creamy peanut butter

1/2 cup granulated sugar, plus more for rolling and sprinkling

1/2 cup dark brown sugar

1/2 teaspoon baking soda

1/2 teaspoon baking powder

1 egg

1/2 teaspoon vanilla extract

1-1/4 cup all-purpose flour

Preheat your oven to 370F. Dust two baking sheets with granulated sugar or fit with a Silpat baking mat. Seriously, people, go out and buy a Silpat baking mat! It will make all of your baking experiences so much easier (& cleaner). Just do it!

In a large mixing bowl, by handheld or stand mixer, beat the butter and peanut butter on medium speed for a few minutes, until fully incorporated. Add in the granulated sugar, brown sugar, baking soda and baking powder and mix well. After scraping down the sides and bottom of the bowl, add in the egg and vanilla extract. Slowly, beat in the flour until just incorporated. Chill your dough for 10 to 20 minutes (especially, if it’s too soft to handle), until it’s firm enough to shape. If you’re planning on using fun cookie cutters, let the dough cool in the fridge for 30 to 45 minutes so that’s it’s stiff enough to roll out evenly.

*Tip: most cookie doughs will gradually warm up when being handled for extended periods of time, so don’t hesitate to pop the dough back into the fridge to cool again between filling up each cookie sheet.

Now comes the fun part. Let’s get rolling! By hand (or small cookie scoop), roll the dough into 1-1/2 inch balls. Roll each ball gently into reserved granulated sugar until fully coated. Place up to 12 cookie balls onto each cookie sheet. Using a fork, gently flatten by making crisscross markings. Pop the cookie sheet into the oven, one sheet at a time, and bake for 8-9 minutes, until the bottoms are slightly browned. Remove from the oven and let rest on the cookie sheet for a few minutes before transferring them to a wire rack.

Sprinkle or dust lightly with more (yes, more!) granulated sugar. Though you don’t really NEED to add more sugar. They’re quite yummy as is. I personally just really like that extra pop of sugar on top! Never said I was sensible now, did I? Ha!

There you have it, all of you cookie monsters! The best of all things classic! Happy Baking!

P.S. DO NOT consume these cookies if you’re trying to avoid yummy, sugary temptations. This cookie is NOT at all a good addition to my own Menopause diet. Trust me.

Happiness Project #45: Turkey Pie Croissant Buns!

IMG_5996

Another lovely Thanksgiving has come and gone but the leftovers? Still crowding up my fridge. And yours too, I presume. And since I’m always attempting to reinvent the same dinner dishes, over & over again, to appease my sassy & VERY opinionated 21mo Daughter, I spied a lovely looking Chicken Pot Pie dish on Pinterest a few nights ago and flipped it to create a Turkey Pie (of sorts) instead. Bam! Taking care of my fridge full of Thanksgiving leftovers, all the while creating a simple, yet Toddler friendly dinner dish for my Daughter, as well! Don’t you love it when inspiration takes care of two things at once? I do! Hence my happy kitchen Mama dance! Which involves much jumping up and down, like a kangaroo, with my arms flailing around & all over the place. And maybe a giggle or two. Just because.

But anyhow, since you now have THAT particular image dancing around in your head (for better or for worse), let’s get back to this lovely, buttery, flakey pie bun. Which is ridiculously easy to create in just a paltry 15 minutes or so. Ready? Here you go…

1 twist can of Jumbo sized Croissant Biscuits

3/4 cup shredded or finely diced cooked Turkey

3/4 cup cooked mashed potatoes

1/2 cup steamed white corn

*Please note that all of the ingredients listed above, are leftovers from my family’s Thanksgiving dinner. You can substitute with ANY of your own leftovers instead. Didn’t have Turkey? Use Ham instead. No mashed potatoes? Stuffing works just as well. More vegetables, you say? How about peas or carrots? Experiment and have FUN with it!

Preheat the oven to 350F. Lightly butter or spray a 12 tin cupcake pan.

Pop open the Croissant can and lay out each of the 8 jumbo sized biscuits onto a marble or wooden work surface. Using the flat of your hand, gently press out each croissant round until each round is nearly double in size. Lay each round into each cupcake tin, gently pressing and working the dough up the bottom and the sides of each tin, until you’ve created a 1 inch overhang, flapped over each of the tin’s edges.

Now the messy part! Separate each of your pie fillings. Using a tablespoon, scoop in the mashed potatoes, followed by half a tablespoon of corn, and ending with 3 or 4 squares of turkey. OR create your own combination with your own leftovers! That’s the beauty of this recipe. You can create your very OWN Thanksgiving Pie! Brilliant, right?

Once you’ve added in all of your fillings, flip up the overhang flaps of dough and firmly crimp (or press) together in the center of the croissant dough. Essentially, creating a messy looking bun. The key word being: messy, my friends. Messy.

Pop the cupcake pan into the oven and let bake for 12-15 minutes, until the tops are a lovely golden brown. Remove from the oven and let cool for a few minutes before turning the buns out of the pan and then serving.

So, SO easy! And the perfect way to use up all of those yummy Thanksgiving leftovers!